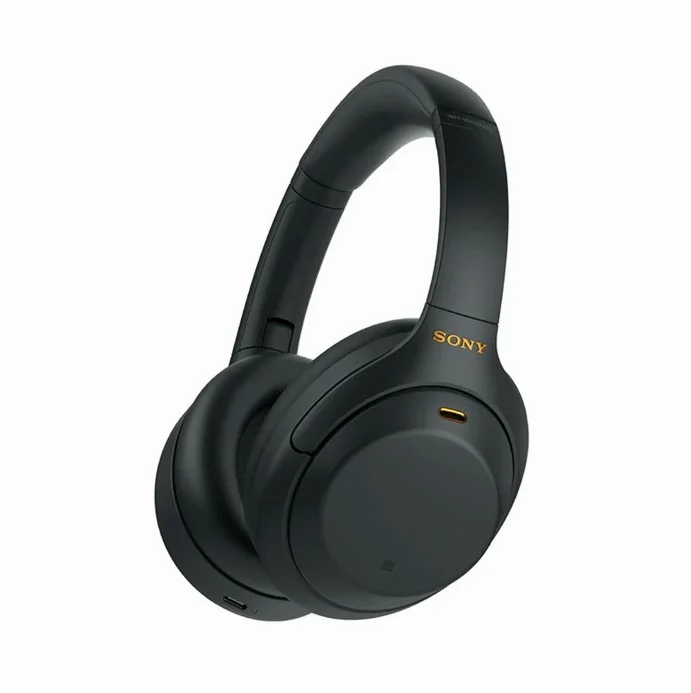
Pre-cleaning Precautions
Knowing your headphone’s material is very important. Different materials need different care. Sony headphones may have plastic, metal, or fabric parts. Each material reacts differently to cleaning products.
Do not use harsh chemicals. They can damage your headphones. Avoid soaking them in water. This can lead to permanent damage. Also, do not use sharp tools. They can scratch or break the surface.
Be careful with rubbing too hard. This can remove the finish. Always test a small area first. This helps to avoid problems later.
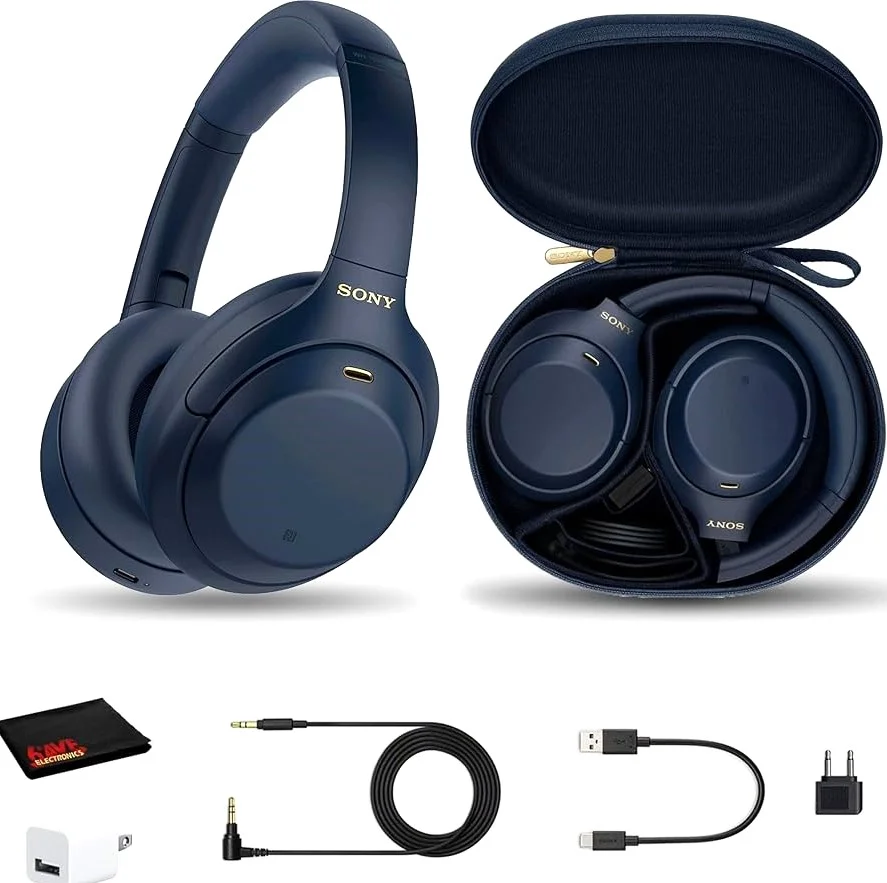
Step-by-step Cleaning Guide
Start by using a soft cloth. Gently wipe away any excess oil. Focus on the ear cups and headband. Do not press too hard. This can damage the headphones.
Next, prepare a cleaning solution. Mix equal parts of water and isopropyl alcohol. Dampen a clean cloth with this solution. Make sure it is not too wet.
Wipe the surfaces carefully. Remove any remaining oil marks. Avoid getting the solution inside the headphones. This can cause serious damage.
Let the headphones dry completely. Ensure they are free from moisture. Once dry, they are ready for use again.
Drying And Post-cleaning Care
Dry your Sony headphones carefully. Use a soft cloth. Wipe off any moisture. Let them air dry. Avoid direct sunlight.
Keep them away from heat sources. Do not use a hairdryer. Heat can damage the headphones. Make sure they are completely dry.
For long-term care, store them in a cool place. Use a case to protect them. Clean them regularly to prevent dirt build-up. This keeps them looking new.
Preventing Future Oil Marks
To keep your Sony headphones clean, follow these regular maintenance tips. Wipe the ear cushions with a soft cloth. Use a cloth that is slightly damp. Avoid getting moisture inside the headphones.
Clean the headphones after each use. This helps remove oil marks and dirt. You can also use a mild soap solution for deeper cleaning. Just make sure to dry them well afterwards.
For protective measures during use, avoid touching the headphones with oily hands. Store them in a case when not in use. This prevents dust and dirt buildup.
Avoid wearing them while exercising. Sweat can leave marks and damage them. Keep them away from oily hair products too. Simple steps help keep your headphones looking great.
Troubleshooting Common Issues
Oil marks on Sony headphones can be annoying. They make the headphones look dirty. Start by using a soft, dry cloth. Gently wipe the affected area. If stains remain, use a damp cloth with a bit of soap.
For tough stains, try rubbing alcohol. Apply it to a cloth, not directly on the headphones. Lightly rub the area until the stain lifts. Always test on a small spot first.
Persistent stains may need professional help. If home methods fail, consider contacting Sony support. They can offer advice or repair options.
Conclusion: Ensuring Longevity Of Your Headphones
Regular cleaning keeps your Sony headphones looking good. Use a soft cloth to wipe the ear cups. This helps remove oil marks and dirt. Make a cleaning routine. Doing this often prevents build-up.
Check the headphone wires too. Dust can collect there, making them dirty. Avoid using harsh cleaners. They can damage your headphones.
Store your headphones safely. Keep them in a case when not in use. This protects them from dust and scratches.
Remember to handle your headphones gently. Avoid pulling on the wires. A little care goes a long way in keeping them clean.
Frequently Asked Questions
How Can I Remove Oil Marks From My Headphones?
To remove oil marks from your Sony headphones, use a soft microfiber cloth. Dampen it slightly with water or isopropyl alcohol. Gently wipe the affected areas, ensuring not to saturate any openings. This method effectively cleans without damaging the material.
What Products Are Safe For Cleaning Headphones?
Safe products for cleaning headphones include mild soap, water, and isopropyl alcohol. Avoid harsh chemicals and abrasive cleaners. These can damage the materials and finish. Always test on a small area first to ensure compatibility.
Can I Use Baby Wipes On My Headphones?
Using baby wipes on headphones is not recommended. They may contain chemicals that can harm the finish. Instead, opt for a microfiber cloth with water or a gentle cleaning solution. This approach is safer and more effective for maintaining your headphones.
How Often Should I Clean My Headphones?
It’s advisable to clean your headphones every few weeks. Regular cleaning prevents oil buildup and maintains sound quality. If you use them frequently or sweat a lot, consider cleaning them more often. This will help extend their lifespan and keep them looking new.
Conclusion
Keeping your Sony headphones clean is important. Oil marks can be annoying. Use the methods we discussed to remove them easily. Regular cleaning helps maintain their look and function. Take care of your headphones, and they will last longer. A few simple steps make a big difference.
Enjoy your music without the distraction of oil marks. A clean pair of headphones enhances your listening experience. Follow these tips and keep your headphones in great shape. Happy listening!
Oil marks on Sony headphones can be frustrating. They make your headphones look dirty and can affect your listening experience.
Fortunately, removing these marks is possible with the right techniques. Many people enjoy using Sony headphones for their comfort and sound quality. However, over time, oil marks can accumulate, especially from skin oils and sweat. These marks can be tough to remove and may seem permanent.
But don’t worry! With simple cleaning methods and a few household items, you can restore your headphones to their original condition. This guide will help you understand the best ways to tackle this issue. Let’s explore effective tips and tricks to keep your Sony headphones looking fresh and clean.
Introduction To Oil Mark Challenges On Headphones
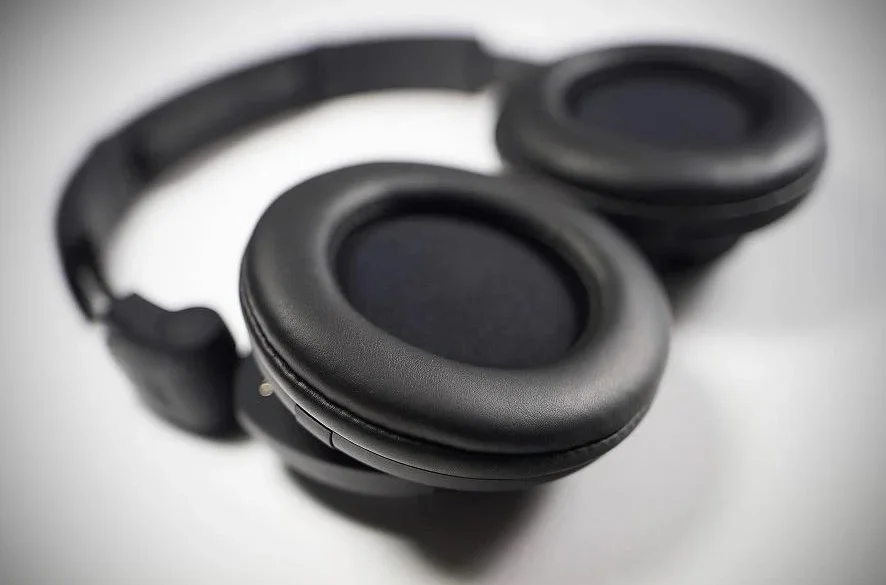
Oil marks on Sony headphones can be a big problem. Many people face this issue. It usually happens from sweat or skin oils. Using headphones often makes this worse.
Cleaning is very important. Oil marks can damage the material. Dirty headphones can also cause skin irritation. Regular cleaning helps keep them looking new. It also improves comfort while using them.
| Common Causes of Oil Buildup |
|---|
| Skin oils |
| Sweat |
| Makeup residue |
| Hair products |
Materials You Need For Cleaning
To clean your Sony headphones, gather some safe cleaning agents. Use a soft cloth and water. Rubbing alcohol is also good. Avoid harsh chemicals. They can damage the headphones.
For effective cleaning, you need some tools. A soft brush helps remove dirt. Cotton swabs are great for tight spots. Use a microfiber cloth to avoid scratches. Keep everything handy before you start cleaning.
Pre-cleaning Precautions
Knowing your headphone’s material is very important. Different materials need different care. Sony headphones may have plastic, metal, or fabric parts. Each material reacts differently to cleaning products.
Do not use harsh chemicals. They can damage your headphones. Avoid soaking them in water. This can lead to permanent damage. Also, do not use sharp tools. They can scratch or break the surface.
Be careful with rubbing too hard. This can remove the finish. Always test a small area first. This helps to avoid problems later.

Step-by-step Cleaning Guide
Start by using a soft cloth. Gently wipe away any excess oil. Focus on the ear cups and headband. Do not press too hard. This can damage the headphones.
Next, prepare a cleaning solution. Mix equal parts of water and isopropyl alcohol. Dampen a clean cloth with this solution. Make sure it is not too wet.
Wipe the surfaces carefully. Remove any remaining oil marks. Avoid getting the solution inside the headphones. This can cause serious damage.
Let the headphones dry completely. Ensure they are free from moisture. Once dry, they are ready for use again.
Drying And Post-cleaning Care
Dry your Sony headphones carefully. Use a soft cloth. Wipe off any moisture. Let them air dry. Avoid direct sunlight.
Keep them away from heat sources. Do not use a hairdryer. Heat can damage the headphones. Make sure they are completely dry.
For long-term care, store them in a cool place. Use a case to protect them. Clean them regularly to prevent dirt build-up. This keeps them looking new.
Preventing Future Oil Marks
To keep your Sony headphones clean, follow these regular maintenance tips. Wipe the ear cushions with a soft cloth. Use a cloth that is slightly damp. Avoid getting moisture inside the headphones.
Clean the headphones after each use. This helps remove oil marks and dirt. You can also use a mild soap solution for deeper cleaning. Just make sure to dry them well afterwards.
For protective measures during use, avoid touching the headphones with oily hands. Store them in a case when not in use. This prevents dust and dirt buildup.
Avoid wearing them while exercising. Sweat can leave marks and damage them. Keep them away from oily hair products too. Simple steps help keep your headphones looking great.
Troubleshooting Common Issues
Oil marks on Sony headphones can be annoying. They make the headphones look dirty. Start by using a soft, dry cloth. Gently wipe the affected area. If stains remain, use a damp cloth with a bit of soap.
For tough stains, try rubbing alcohol. Apply it to a cloth, not directly on the headphones. Lightly rub the area until the stain lifts. Always test on a small spot first.
Persistent stains may need professional help. If home methods fail, consider contacting Sony support. They can offer advice or repair options.
Conclusion: Ensuring Longevity Of Your Headphones
Regular cleaning keeps your Sony headphones looking good. Use a soft cloth to wipe the ear cups. This helps remove oil marks and dirt. Make a cleaning routine. Doing this often prevents build-up.
Check the headphone wires too. Dust can collect there, making them dirty. Avoid using harsh cleaners. They can damage your headphones.
Store your headphones safely. Keep them in a case when not in use. This protects them from dust and scratches.
Remember to handle your headphones gently. Avoid pulling on the wires. A little care goes a long way in keeping them clean.

Frequently Asked Questions
How Can I Remove Oil Marks From My Headphones?
To remove oil marks from your Sony headphones, use a soft microfiber cloth. Dampen it slightly with water or isopropyl alcohol. Gently wipe the affected areas, ensuring not to saturate any openings. This method effectively cleans without damaging the material.
What Products Are Safe For Cleaning Headphones?
Safe products for cleaning headphones include mild soap, water, and isopropyl alcohol. Avoid harsh chemicals and abrasive cleaners. These can damage the materials and finish. Always test on a small area first to ensure compatibility.
Can I Use Baby Wipes On My Headphones?
Using baby wipes on headphones is not recommended. They may contain chemicals that can harm the finish. Instead, opt for a microfiber cloth with water or a gentle cleaning solution. This approach is safer and more effective for maintaining your headphones.
How Often Should I Clean My Headphones?
It’s advisable to clean your headphones every few weeks. Regular cleaning prevents oil buildup and maintains sound quality. If you use them frequently or sweat a lot, consider cleaning them more often. This will help extend their lifespan and keep them looking new.
Conclusion
Keeping your Sony headphones clean is important. Oil marks can be annoying. Use the methods we discussed to remove them easily. Regular cleaning helps maintain their look and function. Take care of your headphones, and they will last longer. A few simple steps make a big difference.
Enjoy your music without the distraction of oil marks. A clean pair of headphones enhances your listening experience. Follow these tips and keep your headphones in great shape. Happy listening!
